Know Your Subcontractor

It’s been hard to find a concrete contractor for the footings and stem walls because people have been so busy in construction. So, I ended up seeing a referral to this one contractor reached out to him and he gave a good bid. I also met a plumber who said he would meet me and my concrete guy onsite and could work alongside the concrete contractor. On the morning we were supposed to start, my GC, Barry Howard came by and started asking some questions.

The first problem was that the concrete contractor, this Hawaiian fellow, said he was only doing the footings, not the stem walls. Barry was immediately skeptical. That certainly wasn’t the deal I had anticipated. When asked why he couldn’t do the stem walls as he had promised, he had admitted he didn’t have the “forms” that are used to create the stem walls. Those forms are about $10K, not incredibly expensive for a working contractor. The Hawaiian offered to complete the footings and suggested we find someone else for the stem walls. Barry explained to me that the second concrete contractor would be hard to find, because he would assume that there had been an issue with the footings and thus the second contractor wouldn’t want to have his work be judged by what the first person had done or failed to do. Basically, he wouldn’t want to install his stem wall on some flawed foundation. Or he might think that we got into a payment dispute with the footings contractor and that might happen to him. Also, the stem is a smaller job than doing the entire footings and stem, so to find something to do just half the job would be hard because the profit wouldn’t be there.

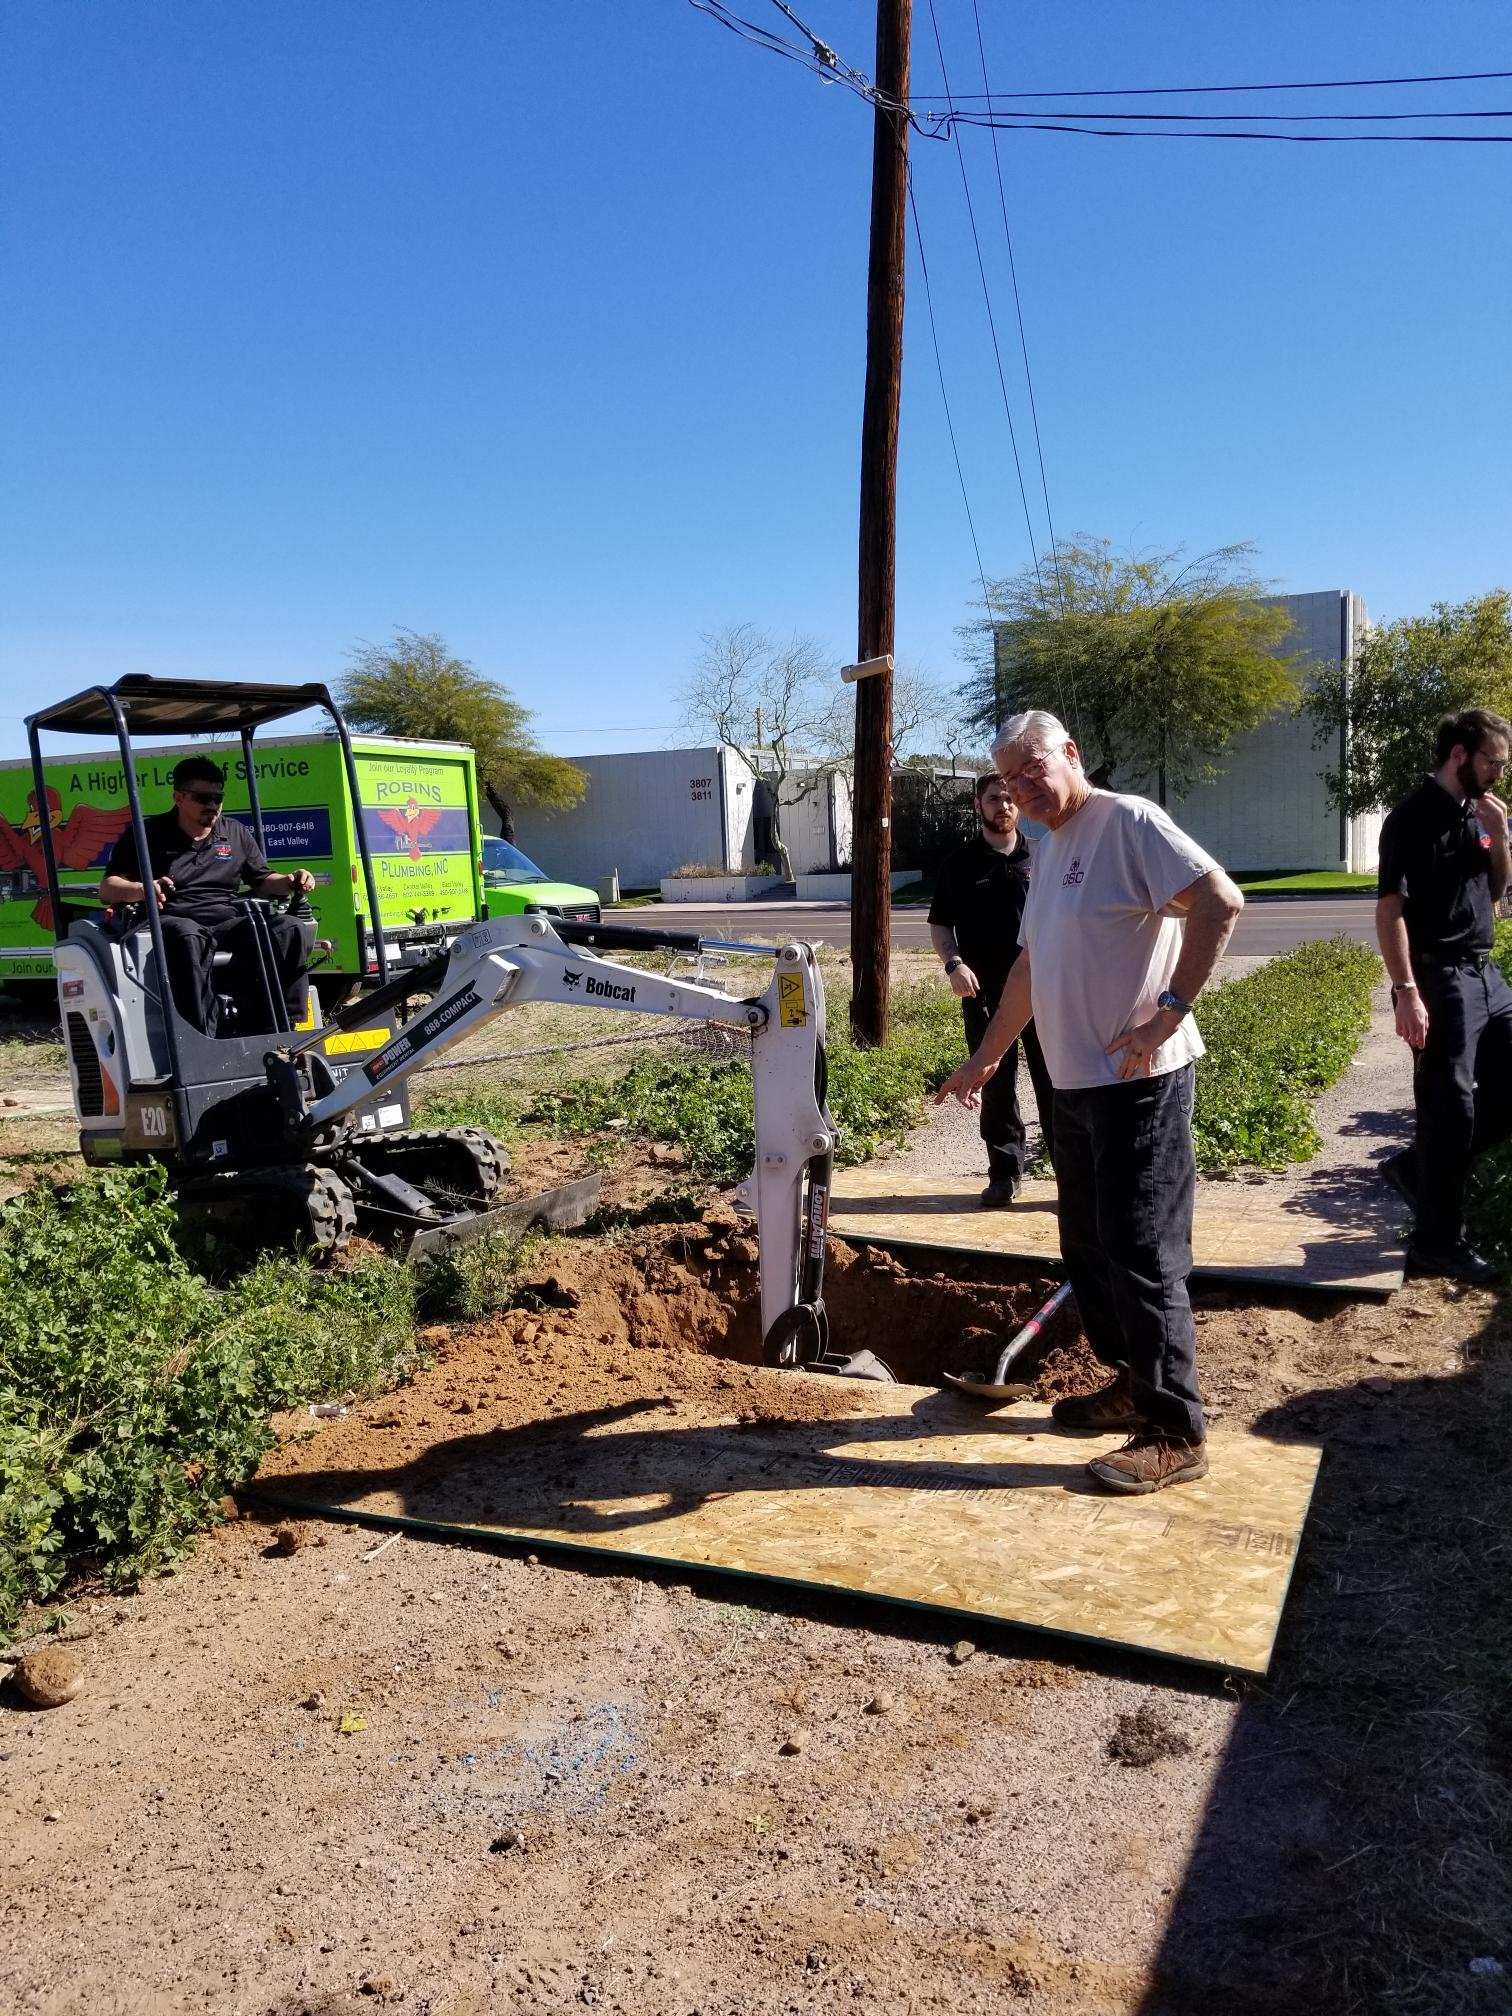
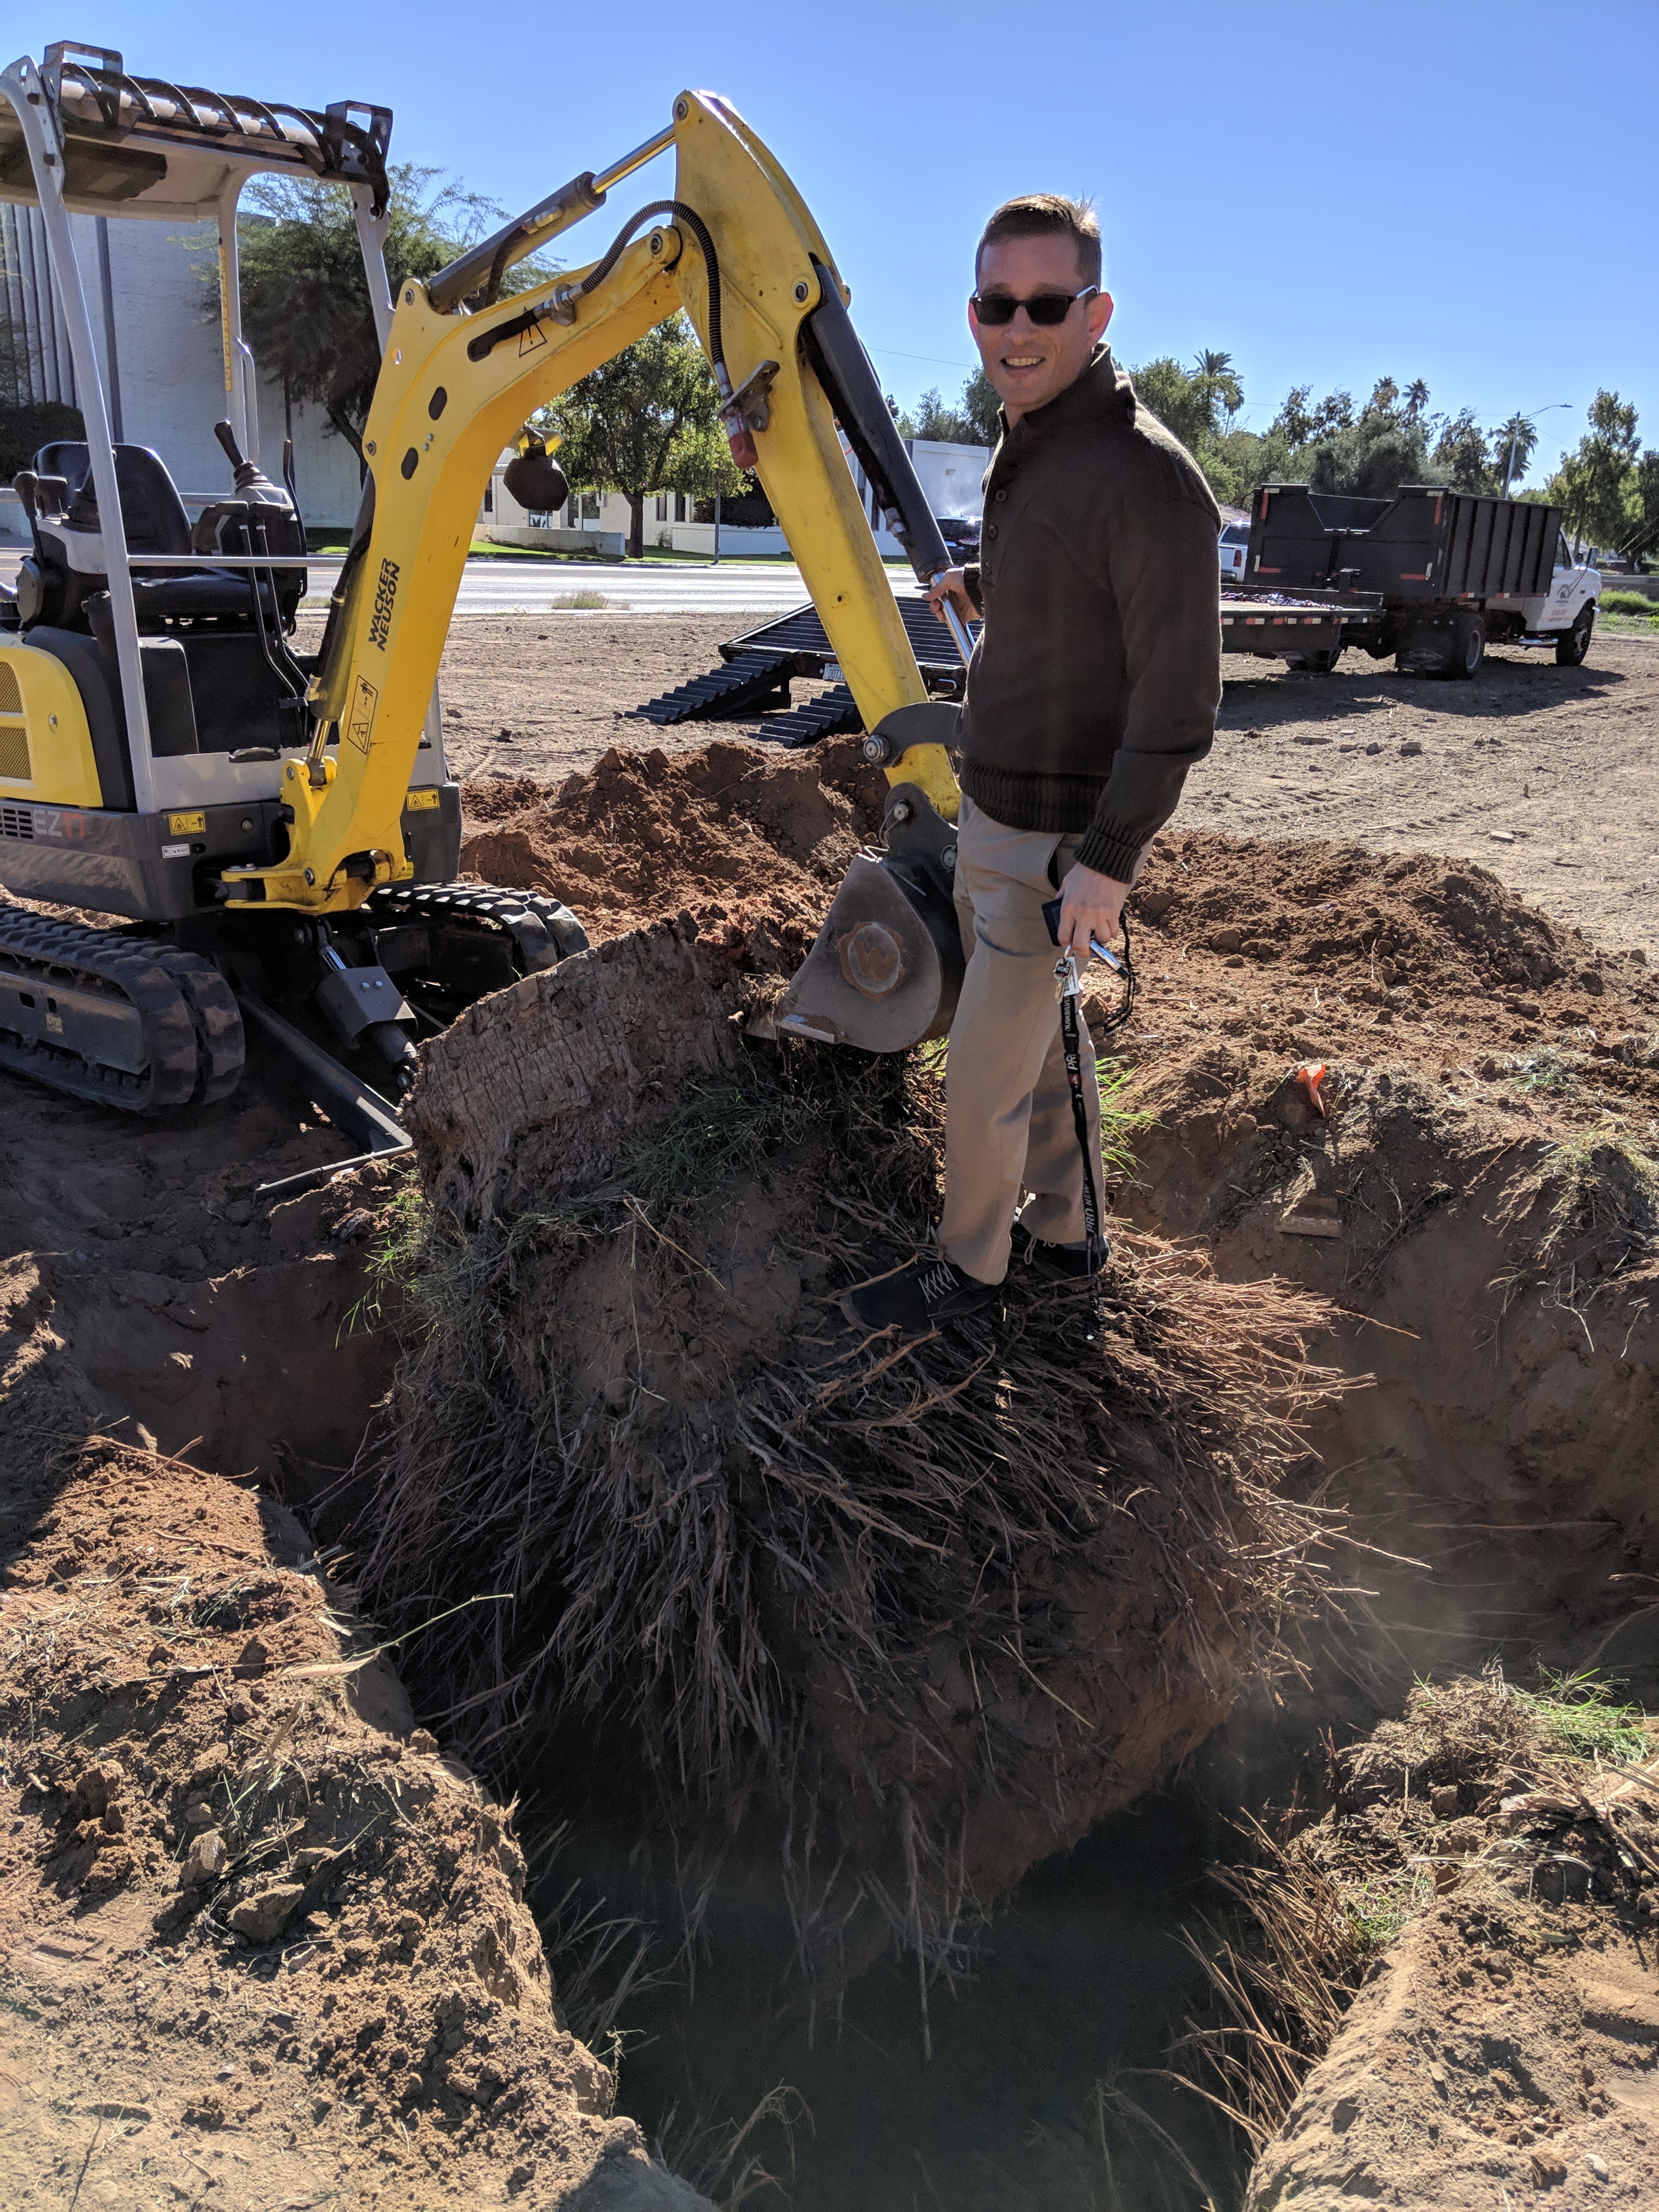
Barry also asked me whether I had noticed that the backhoe brought by the Hawaiian looked brand new. I had. That made me understand what Barry was saying: maybe this guy had just rented the small backhoe because he had no money and besides couldn’t afford the forms. In short, maybe he wasn’t a very good contractor. No idea, but I decided not to use him.

Likewise, the plumber I found also didn’t have a backhoe or trencher. Barry thinks it is important to have the sewer lines exactly right and believes the machinery is needed for that. The plumber said that he and his sons hand-dig the trenches. Again, Barry was like, “Why is that?” So, he, too, was put off for a bit while I figure things out. Now, I do think I have two excellent new contractors set for the concrete and plumbing, but it’s delayed things by a month. Well, better to delay a month and get the footings, stem wall, and plumbing 100% right than do it wrong and have lots of regrets later.

Enjoying the Little Things

I’ve never driven a bobcat or any sort of tracked construction vehicle before, so I had to take the opportunity to ask to see how they work. I ended up driving the smaller bobcat you can see below. It was surprisingly quiet and also had amazing air conditioning, which is a good thing for anyone who has to spend the day in one. It didn’t take me long to get a feel for the machine. Left stick moves you up and back, right and left. Right stick controls the bucket or arms or whatever is attached to the front of the bobcat–they have interchangeable front pieces, I guess.

I didn’t go very far or fast. In fact, going backwards over some undulations left on the terrain by the big bulldozer left me feeling a bit wobbly. I was probably fine, but I think it is a risky endeavor to drive one of these things over any steep slopes or even not so steep ones. Still, it was fun just to learn something a bit new and out of my normal experience. You have to take time to enjoy what you can, when you can, and the 20 minutes or so that I took learning to maneuver the bobcat was worth it.

Neighbors and Big Trees

I think any project of this kind certainly can bring challenges from neighbors. But I’ve been lucky in that my only neighbor, Eva, has been very much in favor of my project. On our side of the property line was a chain link fence and on her side was a wooden fence and in between them had grown a very big mesquite tree. Eva agreed to remove that tree and even went ahead and removed her wooden fence so that our bulldozer would have unfettered access to the tree.

Tip: We first cut the tree down quite a bit before using the bulldozer to drag the stump out of the ground. My tree guy said that instead of cutting the tree right down to the ground that he would leave a 5 foot section of the base of the tree so that it could be nudged using the bucket of the bulldozer, which would shake the roots loose. That was a good idea. Ultimately, I was there to watch as a heavy duty chain was tied to the stump and the whole thing was pulled out of the ground. I did keep a reasonable distance away during that process in the event the chain were to snap or something–that might be a really bad day! You can see the mesquite in the foreground of the photo below.

I also wanted to remove the much larger Chinese elm, I think, that you can see in the background but weeks prior Eva was hoping just to trim it. My tree guy, Lance said that you really couldn’t trim it because it was already on its last legs and likely wouldn’t survive when the footings were poured for the block wall that is eventually to be built in place of the chain link fence that you can see laying on the ground adjacent to the mesquite. When I got to the site to watch the mesquite be removed, Eva had apparently changed her mind and agreed to also remove the Chinese elm, which I think was a wise decision. After all, such a tree could collapse on any of our structures. Plus, the tree gave no shade as in Arizona, trees on the northern side of the property do nothing for shade as the sun is always in a southern degree.

You can still see a few feet of the stump, so perhaps we are just awaiting Southwest Gas to come do its job before removing the rest of the tree.

Grading, Gas Lines, and other Surprises

The first “big” step in the construction process is building the “pad” of compacted soil upon which the house’s concrete “slab” will sit. The land must be cleared of the first several inches of soil and vegetation, which here in Phoenix just means some sad weeds and grasses, and then other dirt is brought to the site to be formed into the mostly rectangular shape mirroring the building’s footprint. The extra dirt is compacted and brings the house’s slab above “grade,” meaning the level of the rest of the lot. That’s important if you won’t want to be flooded by rain obviously enough. The structure should sit “above grade.”

The maxim that you should learn to expect surprises–the realist’s oxymoron–certainly came into play here. Sure enough, I get a call that there is a big septic tank on the site that had to be removed. It might have been 10 feet deep into the ground or slightly more. In addition, there was some “pier” of concrete that must have been poured to support something much bigger than the simple house that had once been on the land (and used the septic tank). The pieces of concrete were at least 4′ x 8′ and were almost 2+ feet in thickness, probably larger, even. Below is a photo of the pieces of the concrete pier that we discovered when grading the land.

Unexpected concrete pier

Next came the unexpected news that even though Southwest Gas had sent some subcontractor to mark the gas line, it turns out they did a very poor job and they failed to notice that a gas line continued another 60 feet or so into the property–and it was an active line! Of course, Southwest Gas was somewhat apologetic but given the Labor Day weekend, it’s postponing some of the work near the western side of the pad. Below is a photo of what my grading contractor, James Bissell discovered. James said it was very lucky that he discovered the line. He takes about 6 inches of dirt off with each pass of the huge bulldozer and it just so happened that he saw a stake with some yellow feathers–not sure if that’s how to describe what the stake had on it–and when he saw that, he stopped the digging.

Dust Control Permit

Well, the bureaucracy continues. One of the things that is required when you are grading a property is to get a dust control permit. That’s about $525 for a one-year permit. Without it, you risk fines of several thousand dollars. While it does make sense to require some level of dust control, $525 seems a bit of a steep price for the right to water your own dirt.

Moving Ahead with Grading and the Foundation

At the time of writing of this blog, the construction tradespeople have been super busy due to the hot economy. It’s taken many contacts by email, phone, and text just to get people to come back with bids. Upon review of our plans, one of the foundation contractors noted that we would need to have grading work done before he could lay any footings. We did have a grading plan submitted to the City of Phoenix, so perhaps that was something I had forgotten about.

One question was whether the depth of the “pad” that is to be constructed (above the grade or level of the land) could itself be used or added to the required depth for the footings? Given that our footings need to be 3 feet deep, it would be even more costly to have to first dig through the pad and then start the 3 feet of footings. For instance, if the pad is 2 feet deep, can those first 2 feet be considered as part of the depth of the footings; otherwise, theoretically, we would have to dig to 5 feet to pour the foundation. I learned that if the pad is”certified” by a soil engineer, the depth of the pad can be used as part of the footing-depth. However, that costs an extra $700 or more.

The company doing my grading is James Bissell. James is also removing a fence from the west side of the property. It’s an old chain link fence, but oddly it has some pretty big footings for the posts, so it’s harder to remove than you would think. But we begin on Monday with removing the fence and later in the week, we start with the actual grading and creation of the pad upon which the house will sit. At least it’s some progress.

Changing a Roofline

So I ended up sharing my plans with an architect, Daniel Cifuentes. He suggested that the roofline on the duplex itself should match the roofline of the garage. Oddly, the garage has a steeper and taller roofline than the duplex, but until he mentioned it, I didn’t think about it.

I agree that the change would benefit the design. My initial questions are how that affects the permitting of the already-approved house plans (it doesn’t), how it affects our lumber order (it doesn’t, because no trusses have been ordered yet), and how it affects the air conditioning system. Given that I discussed with Barry the idea of using a ductless mini-split system rather than central AC, I think we’ll have to investigate what is the best way to cool the house and incorporate the change to the roofline. So it’s always a learning process, and one thing can affect others.

Tapping into the Sewer Line

It turns out the land did not have any connection to the sewer line in the alley. A sewer “tap” needed to be made. To do this, I went to the City of Phoenix Water Services Department, which is desk #8 on the second floor of the city’s main building, and they helped to coordinate the sewer tap. You have to get a commerically licensed plumber to give you a bid and you hand that invoice to the city, which then requires you pay them that amount of money as a bond that they hold until the work has been completed and inspected.

Unknown-4
Barry Howard helping the guys dig and expose the sewer line.

The process has a few steps:

  1. You have a plumber come and dig out and expose the sewer line and cover that with heavy steel plates.
  2. The city comes and puts a “tap” into the sewer line, which your plumber then connects to additional pipe that goes into your property.
  3. The city inspector checks the tap and you rebury the line.
  4. You have an asphalt company come and do a “slurry and seal” to repave the area where the sewer tap was done.

The first step is to ensure that the hole is properly supported so that it doesn’t collapse.

file-14

The main sewer line is tapped with a special tool.

Unknown-7

The hole is then covered by very heavy steel plates so that garbage trucks and other traffic can safely go over the hole until the city inspector can inspect the tap.

Unknown-5

After the inspection, the hole gets refilled and you have to have an asphalt company repatch that entire area plus another 10 feet on either side of the dig.

MVIMG_20190314_074536

One of the interesting “factoids” I learned is that the line leading from your structure to the actual sewer line has a very mild slope of 1/2 inch for every foot of travel. This means that your line will fall 1 foot for every 24 feet of travel. While you might think that a steeper slope would be better, in fact, that can create a situation where the liquids outrun the solid waste. So you actually need to have a sort of gentle slope away from your house until you get pretty close to the main sewer line. At that point, the pipe can slope abruptly directly into the sewer.

Overall, it very expensive to get a sewer tap done and adds at least $6,000 to any project if not more.

Tapping into the Water Main

Having gotten the sewer tap completed, our next step was to get the water connected. There are two main water lines accessible to the property, one on Indianola and the other on 24th Street. Given that 24th Street is a major thoroughfare, it makes much more sense to access the water line on Indianola. The lines in blue are the water lines that you will be able to see on the City of Phoenix Water Department’s computers, so I just took a screenshot of what was on the screen as below.

img_20181130_135934.jpg

I went down to the City of Phoenix (COP) building on 3rd Avenue and Washington and went to Counter 8, which is where you get all your water permits. The City of Phoenix actually has a crew that comes to do the water tap and will dig the trench, tap the water main, and put lines in that will connect to the water meters that are placed on the property. However, you have to have an asphalt company coordinate with the COP so that the torn-up asphalt is re-laid. You have to re-pave the road 25 feet in either direction of the trench, which is costly.

Marking water meters 1
Marking the place for the water meters in blue paint.

After you pay the fees, you have to contact the inspector who will coordinate the tap-installation with what they call “the Yard.” The Yard is the crew who actually comes to do the work of installing the water tap. You’ll need to mark where you want the water tap to be, which you can see above in blue paint.