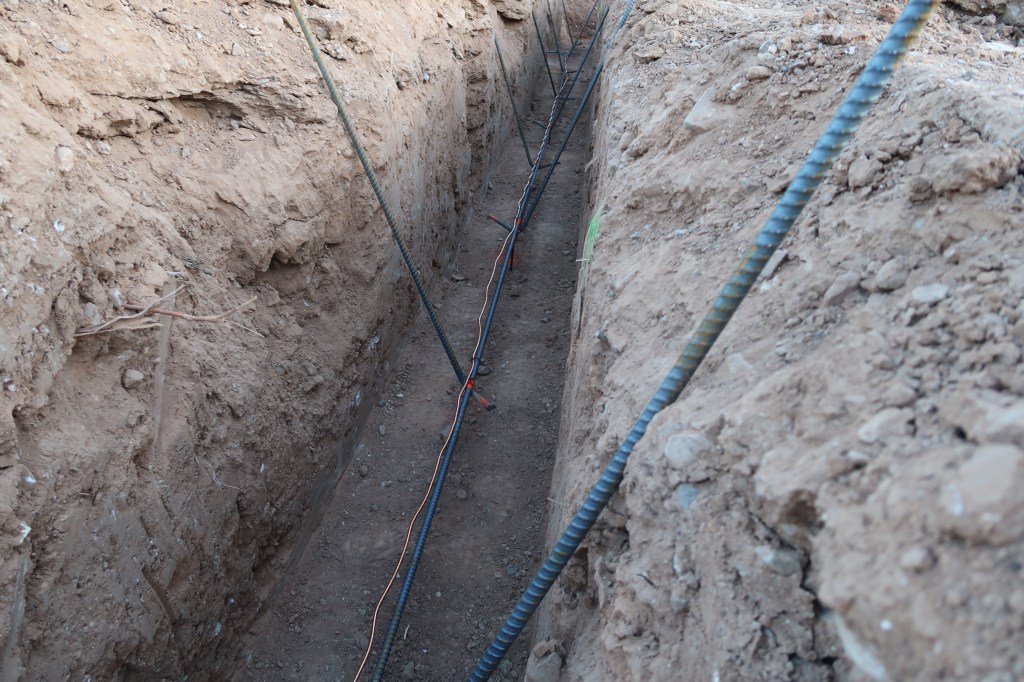
It’s been a stressful but ultimately successful week. The footings were dug and then rebar was placed inside the footings. I was surprised to see how little rebar was actually in the ground, just a single length of horizontal-laying rebar sitting in the trench; then, in intervals around 2 or 3 feet, a piece of rebar in the shape of a “J” tied to that the length of rebar at the bottom of the trenching and sticking up vertically.
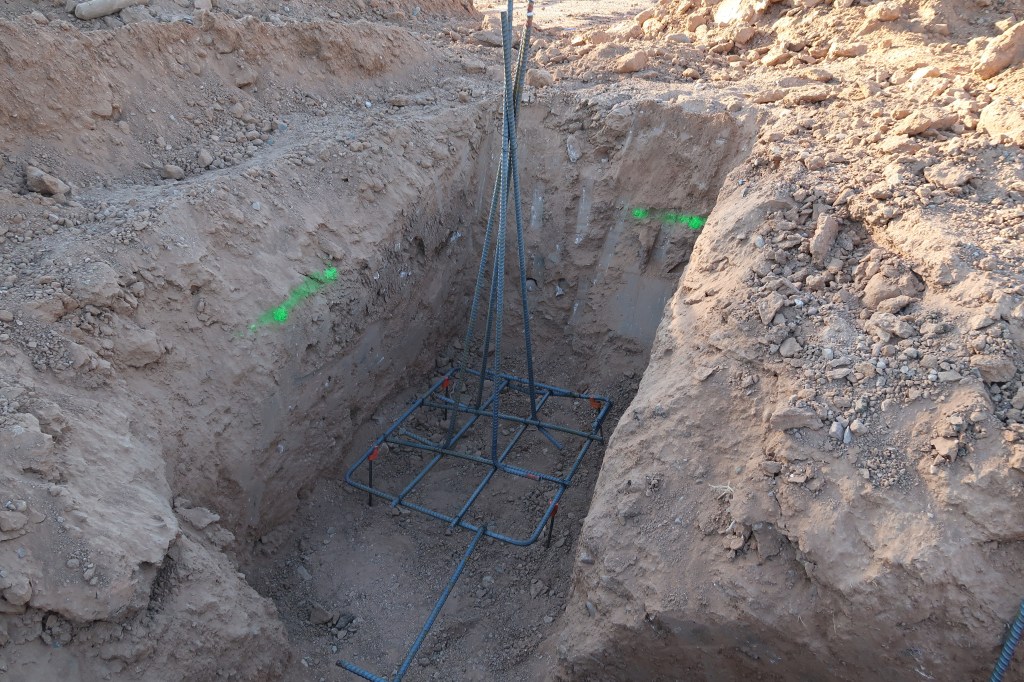
As above, at the corners, I noticed these teepees of rebar, for lack of a better term tied to what seems like a rebar-platform in the shape of a tic-tac-toe. When I first saw that, I thought, “Blair witch in rebar?” I’m not 100% sure why the corners have a more substantial rebar form, but I’m sure there is a good reason. Maybe it is because of where the beams in the roof will meet in pairs or something?
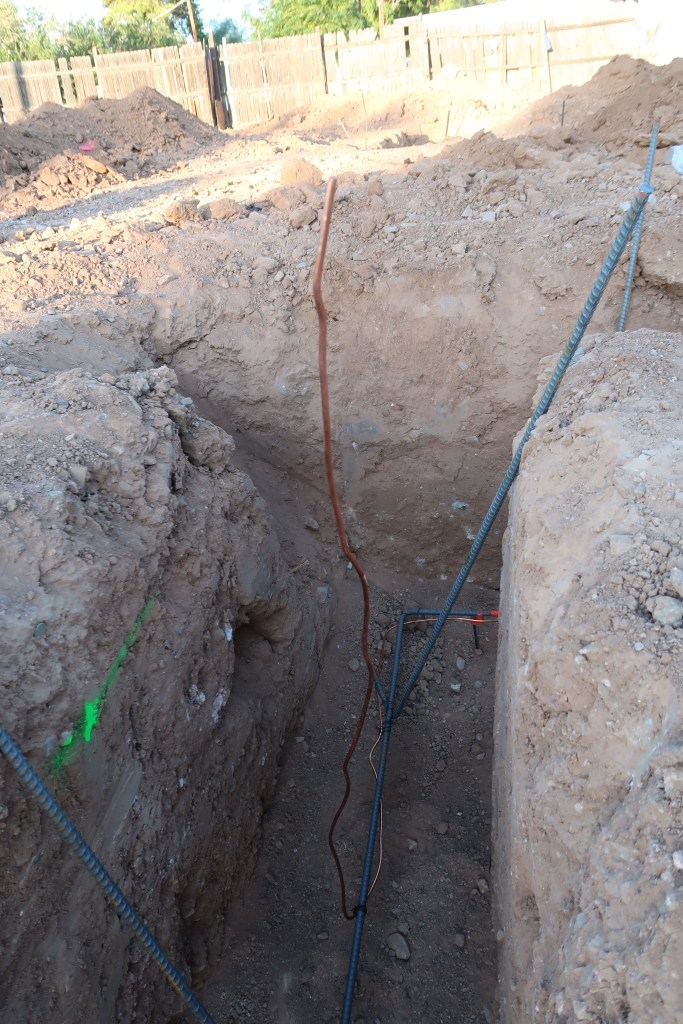
After rebar was placed, we had to place the “Ufer” copper grounding wire and tie that to the rebar. The above-ground portion of the Ufer has to be longer than what you may see in the above video, but we didn’t want to show anyone that there was copper sticking up out of the ground. So, we’ll join that piece of copper with another piece of copper wire that will eventually lead the last ten feet or so to the electrical panel.
After all that was done, I called the city to have an inspector come for our very first inspection. When the inspector first came, she couldn’t conduct the inspection because she needed hard copies of the soil inspection report as well as the pad certification document. It was a bit frustrating, because had I known I needed them, I would have brought them. I had already gotten a certified copy of the approved plans and put that in a document-box we placed onsite, so that was a bit disappointing.

The inspector also noted that she needed string-lines drawn at the property lines–from the little posts that my surveyor marked at each corner–to check and make sure our footings were far enough away from each property line, meaning on all four sides. I ended up having my concrete guy have some of his people go back to the land to do this, but for some reason, his people drew only a single string-line at the west-most boundary, and they actually put the line right over or near the footing. Apparently, they had decided to mark the correct distance (3’6”) away from the western property line–the necessary setback distance–rather than demarcate the actual property line. So because the property line wasn’t marked, the inspector said she couldn’t check for sure if my footings were at the proper distance.
The inspector noted that the footings were 16 inches wide and the stem wall is generally 6 inches wide and that you can “move” the stem-wall from the on-center position to any side of the footings, if we needed up to 10 inches of space. So, there’s that if we end up being too close to the property line.

The inspector did pass us for the first inspection of the footings. Then came the concrete trucks. I am not sure how many trucks came, but at least two and probably more.
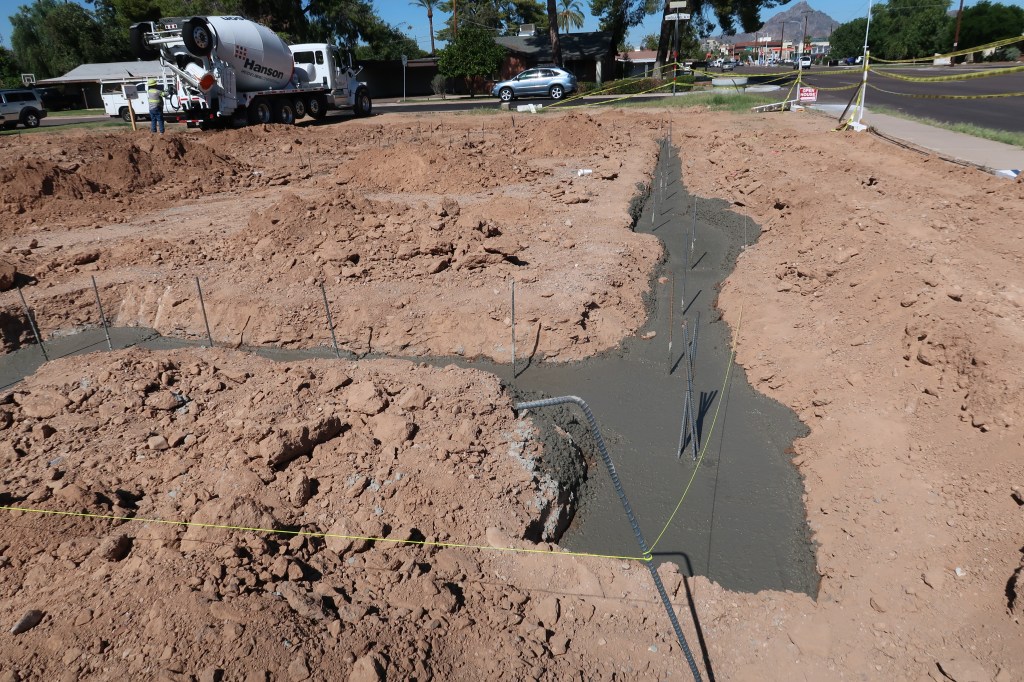
The next step is for heavy plywood “forms” to be placed that will form the 6 inch stem walls. The stem walls lift the walls of the house off grade, so that the house doesn’t simply sit at ground level when it rains. The stem wall is probably going to be at least a foot high, not exactly sure yet.
